 EN
EN
 fr
fr  de
de  es
es  it
it  ru
ru  pt
pt  ar
ar  ms
ms  id
id 


")

")


We have cooperated with more than 200 countries in solar energy projects and road lighting projects. We have exported products to many countries and participated in many important government projects around the world.


We have cooperated with more than 200 countries in solar energy projects and road lighting projects. We have exported products to many countries and participated in many important government projects around the world.

Anern has 17 years of experience in solar lighting and solar product manufacturing. Anern is headquartered in Guangzhou. With a production base of 7,000 square meters, our company has an R&D team of more than 100 people.
This installation guide applies to all Anern all-in-one solar street lights, including the ISSL, SLV, SLV2, and SLZ series. It is intended for installers, distributors, and end users as a practical reference for correct installation, operation, and maintenance.
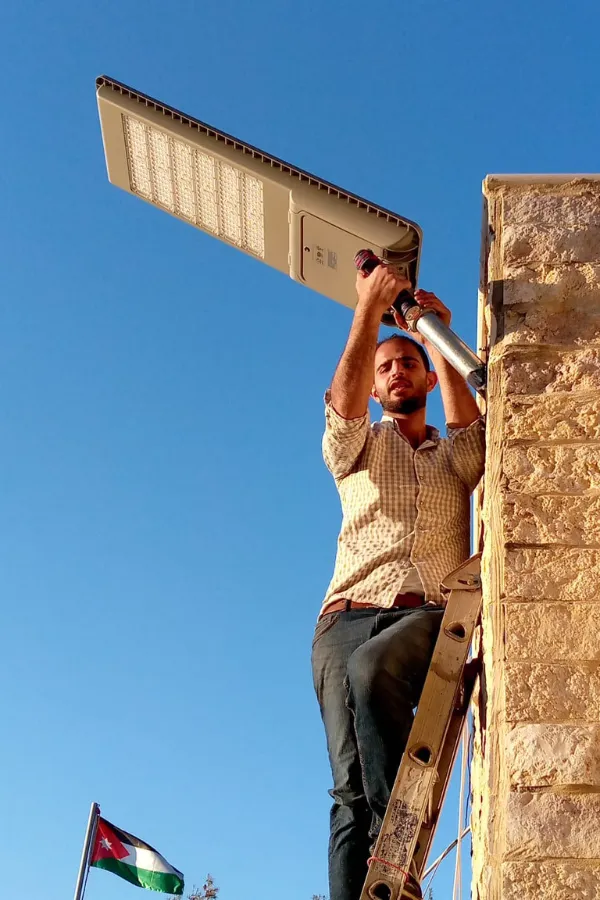
Anern all-in-one solar street lights integrate the solar panel, LED lamp, lithium battery, and controller into a single compact unit. They are designed for outdoor lighting applications such as roads, streets, parks, communities, industrial areas, and rural locations, offering easy installation and independent solar-powered operation.
Before installation, confirm the following:
The solar street light, mounting bracket, bolts, and accessories are complete.
The lamp body and solar panel are free from visible damage.
Required tools (wrench, screwdriver, drill if wall-mounted) are prepared.
The installation site has sufficient sunlight without shading from trees, buildings, or other obstacles.
Install in an open outdoor area with full sun exposure throughout the day.
The solar panel must face the equator:
Northern Hemisphere: face south
Southern Hemisphere: face north
Recommended installation height:
20–40W: 4–6 meters
50–80W: 6–8 meters
100W and above: 8–10 meters
Selecting the correct height ensures optimal lighting coverage and system efficiency.
Step 1: Fix the lamp
Insert the lamp body into the lamp pole or wall-mounted bracket.
Adjust the tilt angle of the solar panel if adjustable.
Tighten all mounting bolts securely to prevent movement or vibration.
Step 2: Adjust solar panel angle
Ensure no shadows block the solar panel during daylight hours.
Adjust the panel angle to maximize sunlight absorption based on local latitude if required.
Solar street lights are typically shipped in OFF mode or transport mode.
Turn on the light using:
The power switch on the lamp body, or
The remote control (if supported by the model).
Available working modes may include:
Light control mode (automatic ON at night, OFF during daytime)
Motion sensor or radar sensor mode
Time control mode (e.g., 6 hours full power + 6 hours dim mode)
Intelligent brightness adjustment based on battery level
After installation, verify the following:
The lamp is firmly installed without shaking.
Solar panel orientation and angle are correct.
The light turns on automatically at night.
Motion or radar sensor functions operate properly if equipped.
Do not install the solar street light indoors or in shaded areas.
Do not connect the light to any external AC power source.
Avoid installing near strong artificial light sources that may affect light control sensors.
During continuous rainy or cloudy days, lighting time may be reduced.
For first-time use, expose the lamp to direct sunlight for 6–8 hours to fully activate the battery.
Clean the solar panel every 3–6 months to maintain charging efficiency.
Periodically check mounting bolts and brackets for stability.
If the lamp will not be used for an extended period, turn it off and store it in a dry location.
To check solar street light maintenance guide.
.webp)
.webp)
No. Anern solar street lights are fully solar-powered and must not be connected to external AC power sources.
Possible reasons include insufficient charging during the day, incorrect installation angle, nearby artificial light interference, or the lamp being in OFF mode.
Lighting time depends on model, battery capacity, brightness settings, and weather conditions. Typical operation ranges from one to several nights.
Some models support adjustable angles. Please refer to the specific product design for details.
Yes. Any shading on the solar panel will significantly reduce charging efficiency and lighting performance.


")
